
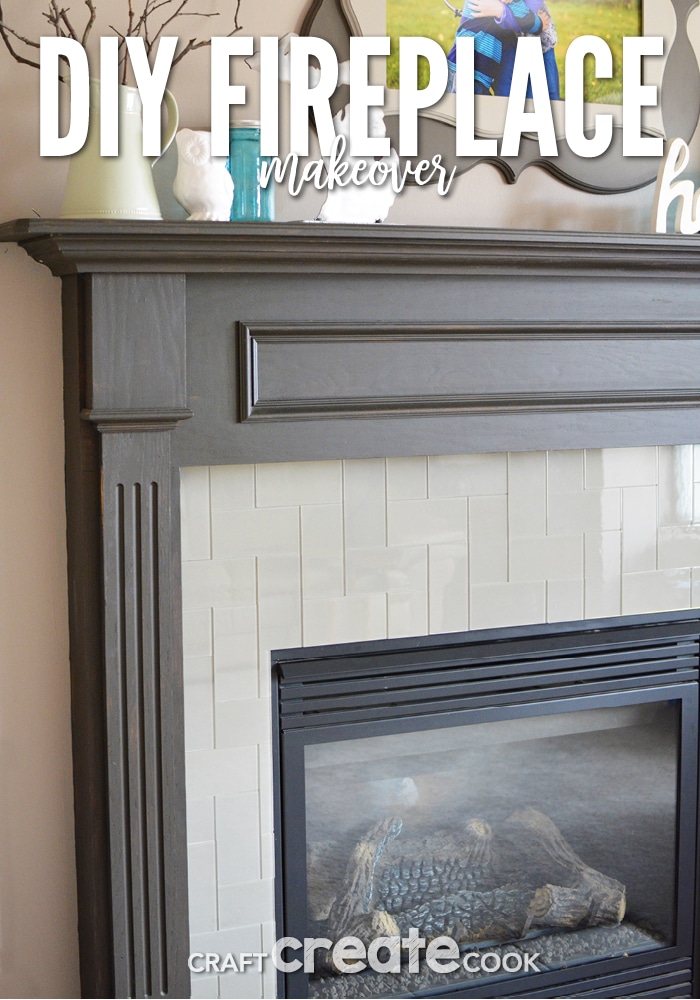
A easy, stylish and affordable way to complete a fireplace makeover in one day!
I'll admit, I've never been a gas log fireplace fan. When I was a kid we had a wood stove in our house. My sister and I used to have to fill it after school in winter as the fire had gone out since no one was home all day. As hard as it was to be a kid and get a fire going, once it was started, the heat from it was amazing!
I never felt the same way about a gas log fireplace as I had about an actual wood burning one. Although growing up with a wood stove, didn't make me want to have one as an adult. I remember having to help my dad haul and stack wood in the summer to prepare for the winter. I remember hauling it from our back yard to the garage so we could easily fill the wood stove in the winter. I remember my mom complaining about how dusty and dry and dirty the wood was. And yes, sometimes we'd find spiders and bugs on the logs we put into the stove!
When I moved into my house, I was apathetic about my fireplace. Nowadays it seems like every house has one and it's trendy to mount your television above it. My fireplace was what it was, and not a selling point of the house or even something I looked at twice while house shopping.
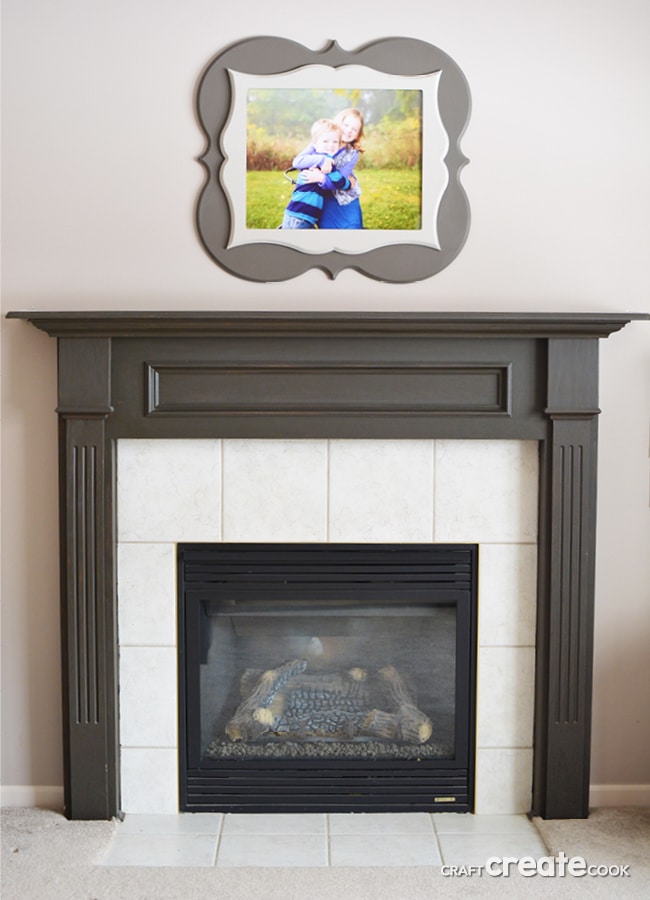
But now, I LOVE IT! Not the heat source or gas log, but I absolutely LOVE having that focal point in my living room! Once I hung my frame from Poppy Seed Projects, everything began to fall into place.
If you look closely at my fireplace, you'll see the tile matches the floor tile. Which is the same floor tile in my bathrooms and at my front entrance! I have no idea if that's a cost saving or what, but I always felt like it was very basic and standard using floor tile on a fire place! I needed to add something more stylish for my fireplace makeover.
I stumbled upon Aspect adhesive glass tile while I was shopping at Menards. Initially I thought I wanted a metal adhesive tile on this space so I ordered several samples. Unfortunately I didn't like any of them on my fireplace, so I went back to the store and website and considered the glass tiles. Then I made a spur-of-the-moment decision. After measuring my space and using the tile estimator on this page, I ordered 8 packages of glass tile in a putty color without even seeing the color in person!
How to Complete a Fireplace Makeover
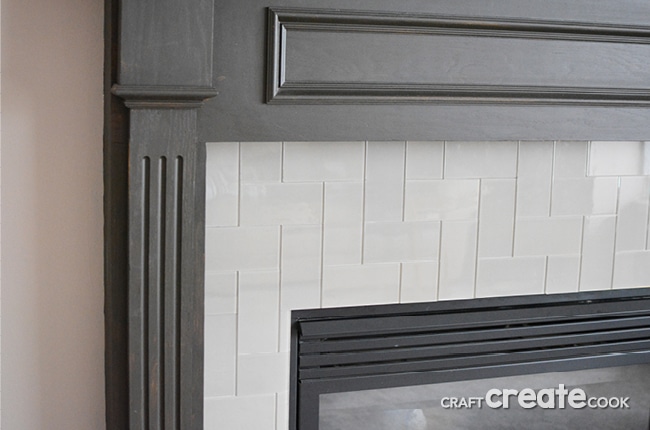
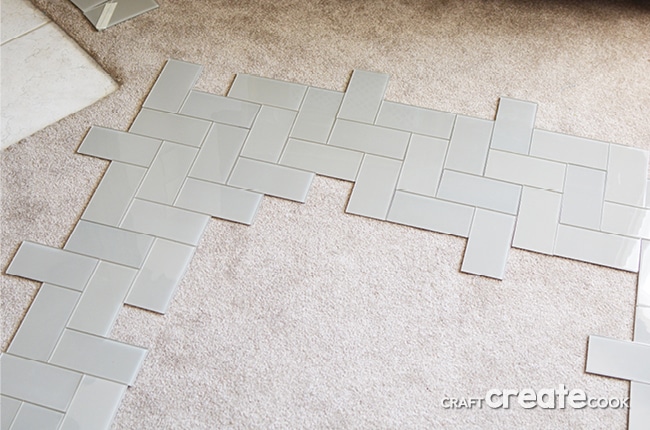
First select a tile pattern you'd like to use. I had my heart set on a herringbone pattern, but we struggled to cut the tiles at a 45 degree angle without chipping the edges of the small triangles. That's when I quickly searched tile patterns on pinterest and stumbled upon the one I used.
Materials:
- Aspect Adhesive Glass Tile in Putty Color
- Wet Tile Saw
- Glass Cutting Saw Blade (make sure this is for glass and wet cutting applications)
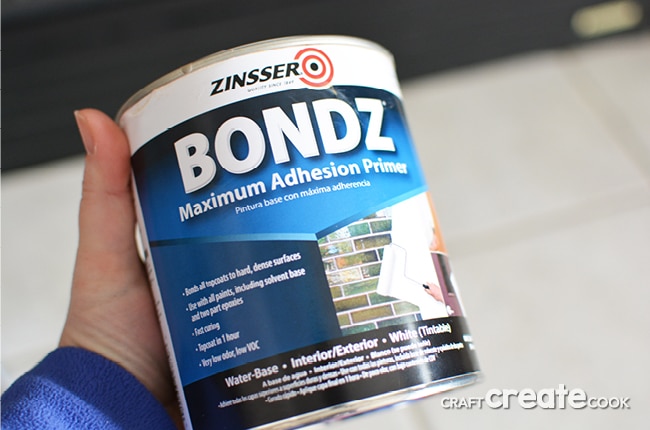
- Paint, tinted to the color of your new tile (the paint department suggested Zinsser's Bondz Primer)
- Paint Brush
- Level
- Masking Tape
- Pencil
- Speed Square
- Tape Measure
- 600 grit sand paper
I was fortunate enough to borrow a wet tile saw from a neighbor and purchased a new glass cutting saw blade. If you borrow or rent a tile saw, make sure the store carries the glass cutting saw blade. I was unable to find them in store at Lowe's, but thankfully Menards carried them.
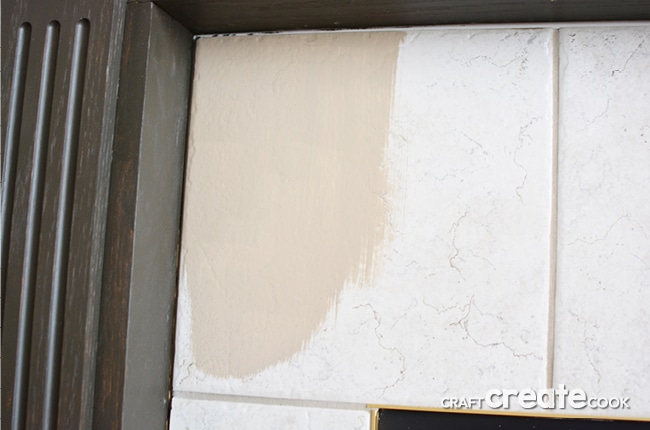
Make sure you clean your surface well before painting it. I used rubbing alcohol and a lint free cloth to clean my tile before painting it.
Directions:
- Paint your tile the same color as your glass tiles. Let set to dry completely.

- Lay your tiles out as they would be on your fire place. This will help with your pattern planning.
- Find the center of your design and the center of your fireplace by measuring with a tape measure and marking lightly with a pencil.
- Begin to place your tile by removing the paper backing and very gently on the center mark, placing a small level on top of the tile to make sure it is level. Press firmly to adhere. Continue to place tiles, using a speed square to make sure the tiles are level and in line with each other.
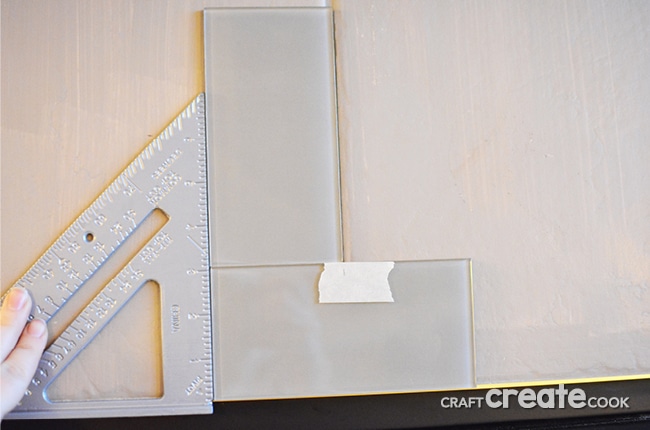
- To cut tiles, measure and place a piece of masking tape on the front of the tile. Draw a line on the front of the tile. Use the wet tile saw to cut the tile, remove the masking tape and wipe clean and dry. Gently sand the cut edge with sand paper to smooth it before removing backing and attaching to the fire place.
- Repeat until you have the entire surface covered. Gently press on each tile making sure it's attached firmly.
- Stand back and admire your hard work!
I did add some trim around the top and outsides of the tile work. I used a very small piece of flat wood trim and attached it with finishing nails. I painted it to match the fire place. I left the inside cuts as-is, without any trim.
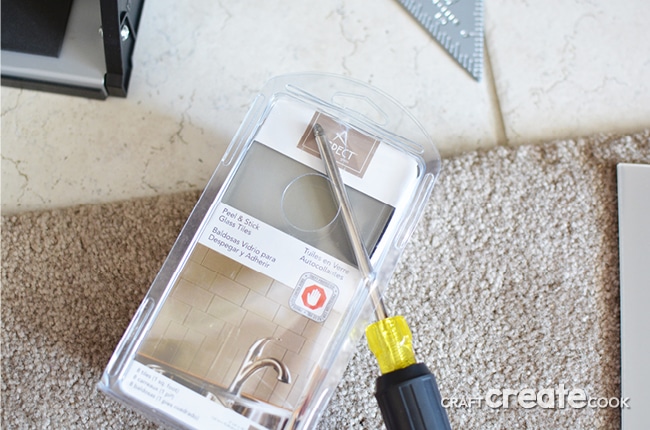
The biggest frustration with this project was opening the actual tile packaging! I decided to shove a screwdriver into the side of the package and slide it to the corner to break it open!
In the end, my fireplace makeover was under $200. I spent about $150 on the tile, it was on sale from Menards, and $12 for a quart of paint (which was way too much for this project, but the smallest size the store had) and $28 on a new glass saw blade.
Do you love my fireplace makeover as much as I do? I enjoy grabbing a hot cup of coffee on the weekends and staring at my fireplace while I enjoy sipping! It's so much fun when a project comes together in a day!
Looking for some other DIY Home Improvement projects?
- Check out my Shiplap Kitchen Makover that's an easy weekend project!
- This Chalk Paint Hutch Makeover is a great way to freshen up sturdy but dated furniture.
- Give your outdoor playset an easy makeover with new paint and stain!
- Add style to your home by etching glass door panels.


LeAnna
What a cool project! I really like the tile you chose!
Kari
Thanks! It was a TON of fun, too!