
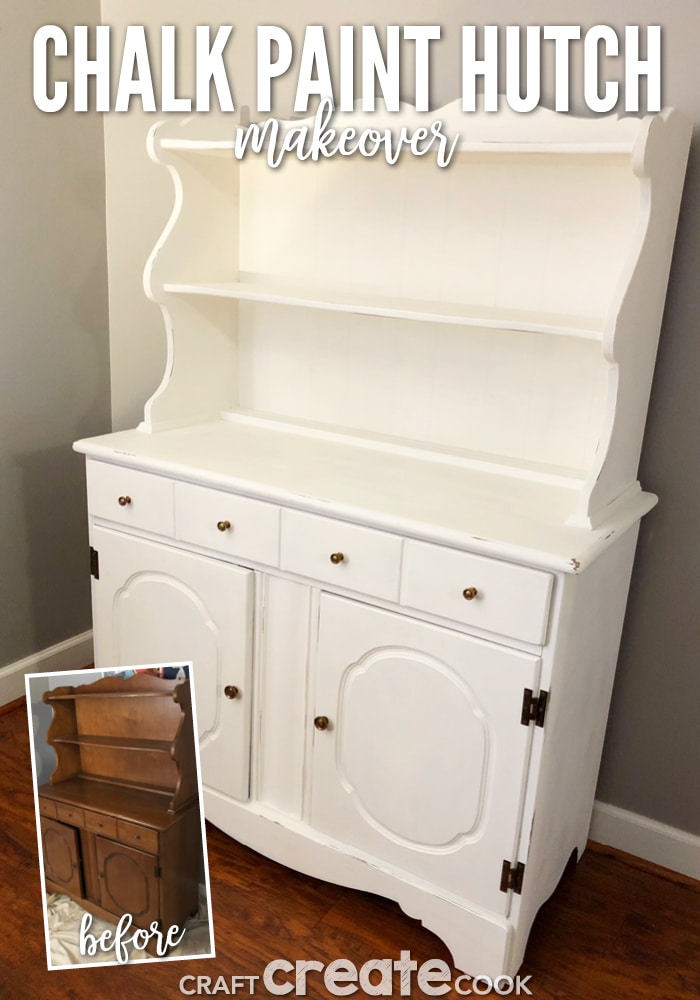
Our Chalk Paint Hutch Makeover will make you want to start painting!
One of my co-bloggers and I love to thrift shop. Seriously love it. We usually don't even go together and you can bet once a week we will most likely run into each other. Every once in awhile I like to look in the furniture section and see what I think would be awesome to re-do somehow like these awesome tables my husband and I did over the summer.
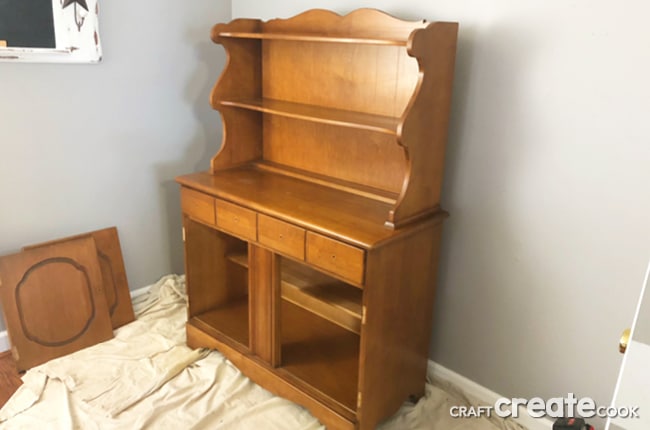
This time I got lucky and my husband found a great hutch while they were cleaning out his Dad's storage unit. Score on our part, he no longer wanted it. And a hutch is something that I've been looking for to store my arts and craft and work items.
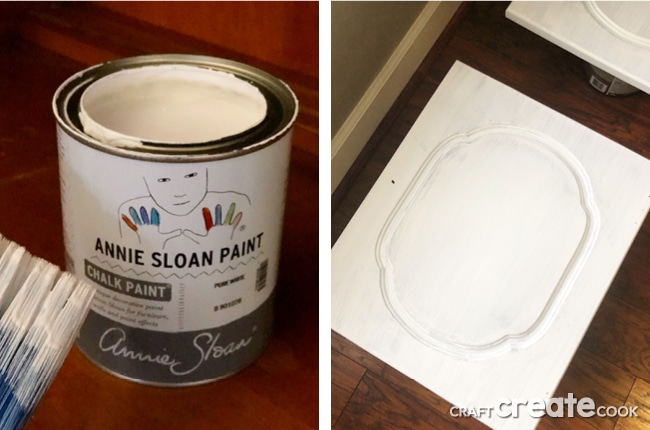
I love the look of chalk paint and have always wanted to try this Annie Sloan Chalk Paint that they sell at a local consignment shop in our area. And since I got the hutch for free, I splurged and bought the paint.
How to make our Chalk Paint Hutch Makeover:
Materials:
- wood piece of furniture
- chalk paint
- chalk paint white wax
- chalk paint brush or nylon paint brush
- sand paper
- cotton rags
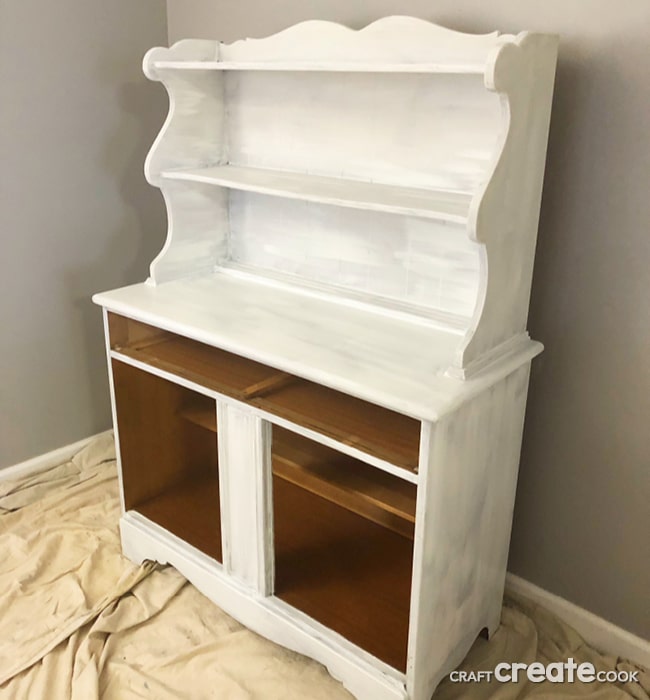
- Prep your work space. I placed a painters cloth underneath the hutch and placed some old paint cans under the doors so they would stand up and away from the cloth.
- Carefully remove the doors and handles with a screw gun or a screwdriver and wipe everything down with a dry rag to remove any dust. If the furniture is extra dirty, sticky or shows oily fingerprints, wipe with a diluted 50:50 water and vinegar mix. Start with a lightly damp cloth making sure not to get the wood too wet. Let dry completely, possibly overnight, before painting.

- The nice part about this paint is there is no sanding needed. Just brush on your paint using your paint brush of choice but work fast because this paint drys super quick.

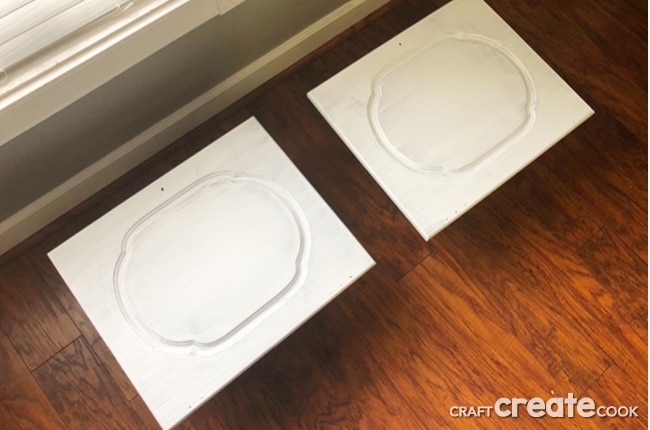
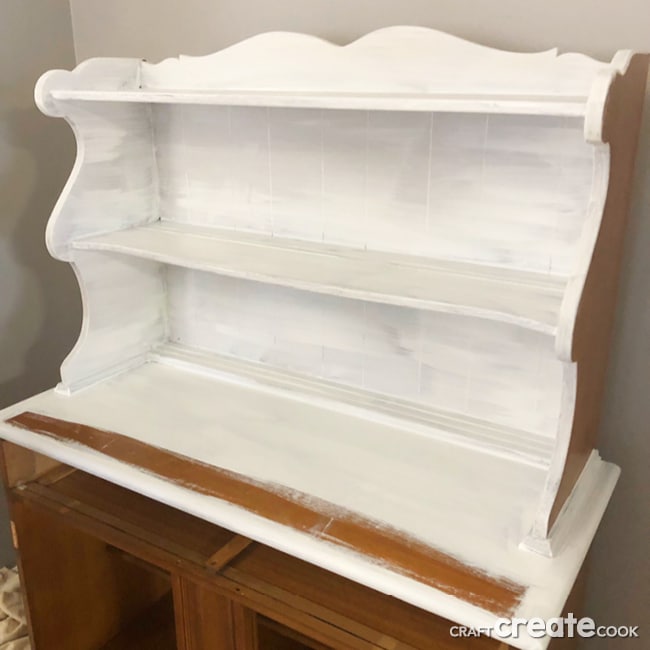
- Once I got one coat on the whole piece and it was dry, including doors, I started over with a second coat (directions tell you to wait a couple hours). I let the second coat dry and I felt it needed a third coat on some areas so I added an additional coat in a few areas I missed.
- I like the shabbier look so I used a little sandpaper to sand an edge here and there.
- Then you'll want to apply your wax to a clean brush and brush the wax onto your chalked painted furniture and then wipe it off gently with a cotton cloth. Make sure you follow directions on your wax container.
- After the hutch was complete, I put the doors and drawer back on and then the handles. I kept the handles that came with the hutch but you can always switch them out for something a little fancier from Hobby Lobby or any lumber store.
- Let your piece sit overnight and then decorate! The best part!

What do you think of our chalk paint hutch makeover? Tell us in the comments below!
You might also enjoy our other DIY projects:
- Shabby Chic Chair Revival - I love all of the DIY shabby chic projects that are popular today! And this chair revival is a perfect, and easy tutorial using amazing Wise Owl Chalk Synthesis Paint.
- How to Easily Refinish a Table Yourself - This tutorial will teach you how to easily refinish a table yourself with little to no skill.
- Outdoor Playset Makeover - An outdoor playset makeover will tidy up your space and keep your investment in tip-top shape.


Leave a Reply