
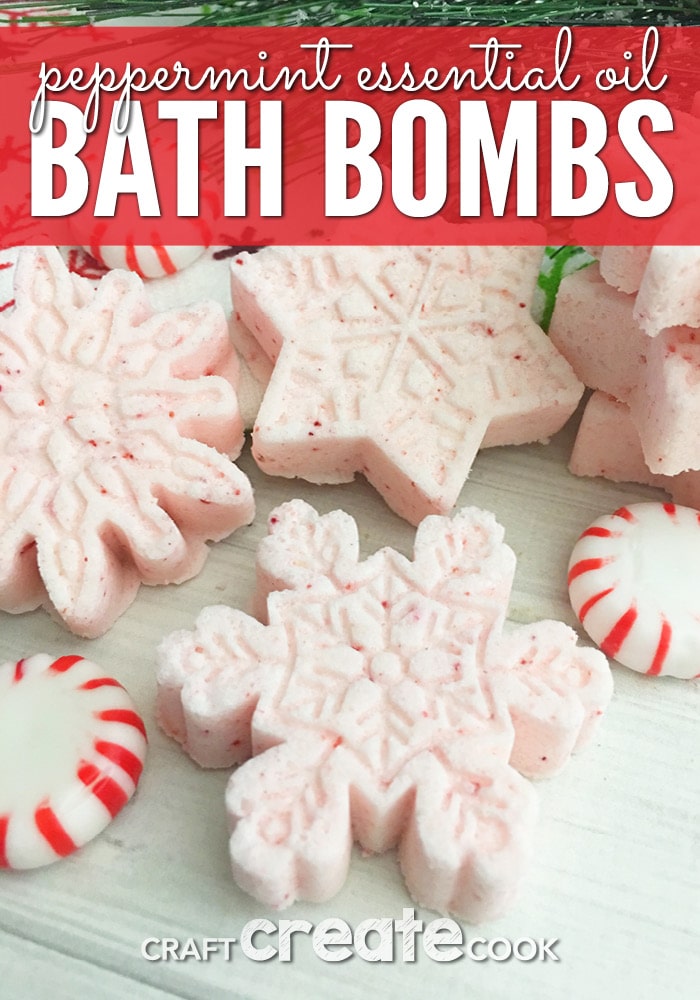
Create your own home spa by adding DIY Peppermint Bath Bombs and enjoying a relaxing evening in, reading a book, or listening to a little music.
I love getting pampered. Hair, nails, massages, you name it, but when Christmas season rolls around and my wallet isn't as full, home spa nights are one of my favorites!
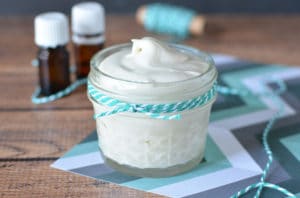
Foot soaks are one of my favorites as well as painting my fingernails and ending with a nice hot bath. Bath bombs are a great way of adding a little fizz and essential oil goodness to pamper your body even more. These Peppermint Bath Bombs are one of my favorites to make because of the cooling effect that the peppermint has on the skin.
How to Make Bath Bombs
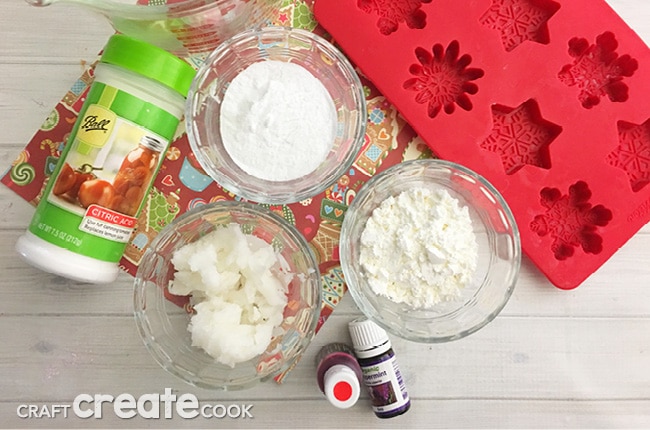
Grab a few ingredients and you'll be on your way to pampering yourself!
- ½ cup baking soda
- ½ cup Ball Citric Acid
- ¼ cup cornstarch
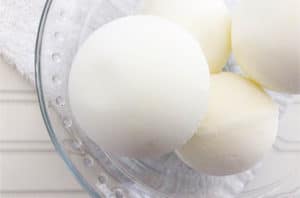
- ¼ cup coconut oil
- red food coloring (optional)
- 3-4 drops Therapeutic grade peppermint essential oil
- Snowflake silicone mold
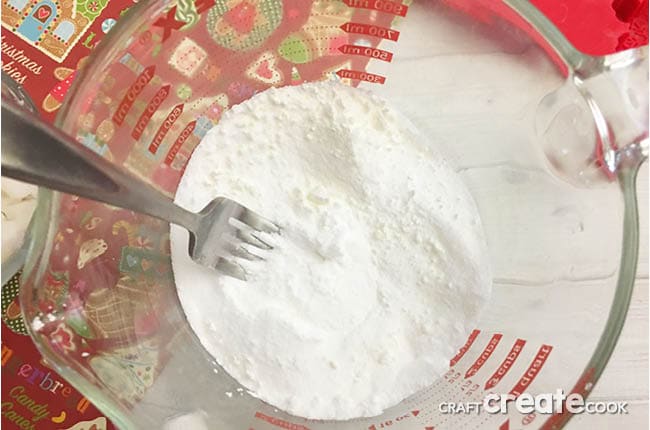
- First you will need to combine your baking soda, citric acid, and cornstarch and mix well.
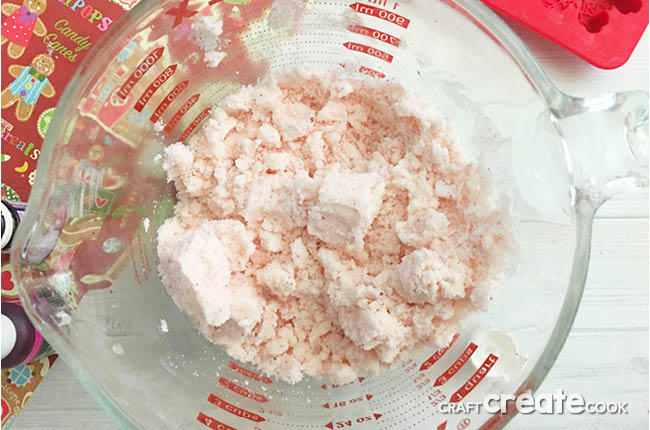
- Add a couple drops of food coloring and mix together (use your finger tips to press and grind the food coloring drops because they will ball up).
- Carefully heat your coconut oil in the microwave then stir in your essential oil and slowly pour and stir into your mixture (should be the consistency of wet sand).

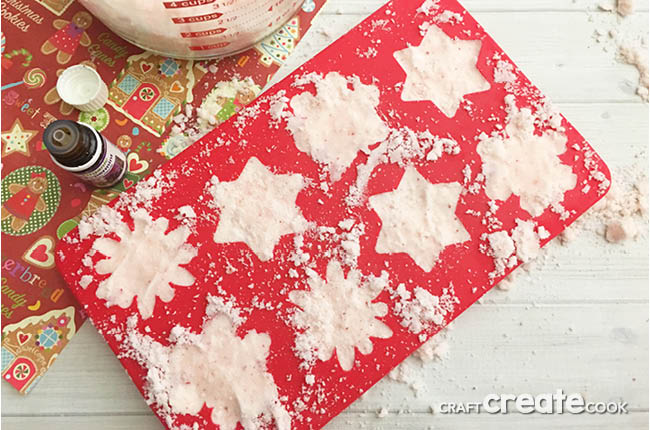
- Press your mixture firmly into your molds and let set overnight
- Add one snowflake to your bath and watch it fizz and release the smell of peppermint.
Store your peppermint bath bombs in an airtight container and drop 1-2 in your bath. Or package them in a cellophane bag and give them away as holiday gifts!
You might also like to try making some other DIY beauty products:
- DIY Lip Balm - Uses two ingredients to keep your lips glossy and protected.
- Rainbow Shower Jellies- Make your morning shower routine more fun with these affordable jellies.
- Make Your Own Bath Bomb - You're just a few simple ingredients away from a nice relaxing hot bath!
- Essential Oil Sore Muscle Rub - is an excellent way to make those overused muscles feel better.
Kait
These look beautiful! The molds are so pretty. I think it is better to add the essential oil to the melted coconut oil, since the essential oil will distribute more evenly into another oil than a powder, diluting it before you touch it. I do like how the food die has created little speckles in the flakes!
Erica
Thank you! And yes that's a good point, thank you for the tip! 🙂
anita
I just tried this recipe. it seems like they are really wet( oily) are they going to dry completely? did you have any issues with this? they smell wonderful and look super cute I hope they turn out!
Kari
Anita, We had a typo in the directions but it has since been fixed. We think you followed the correct directions. There should be 1/4 cup of coconut oil, not 1/2 cup as we previously stated. Your "wet" bombs should be fine. They might take a bit longer to dry.
Sheri
Can I use anything else in place of coconut oil. I'm running short and don't have quite a quarter cup.
Kari
Yes! You can use coconut and almond oil or olive oil.
ittefaqco
I love to make bath bombs but never tried one with peppermint. I can't wait to try your recipe. I made some Himalayan salt bombs recently. They turned out great! I really like Himalayan salt. It is very good for the skin and body. I use it in cooking as well.
Kari
You are welcome! Have fun making them!
Erin
How did you get them to come out of the mold without breaking? The stars cane out on, but all the snowflake edges broke off while getting it out 🙁
Erica
90% of mine came out without breaking, were they completely dry? If you overfill the molds just a touch it will help. Then when removing you can always carefully break away what you don't want.