
This no bake peanut butter OREO dessert won't last long and you'll have everyone wanting the recipe.
There is an extreme love for peanut butter and chocolate in my house. It's my husband's favorite sweet combination and it's my 2nd favorite. I can assure you every birthday and Father's day we have something peanut butter and chocolate for a sweet treat. I've made fudge, cupcakes and most recently this no bake peanut butter OREO dessert.
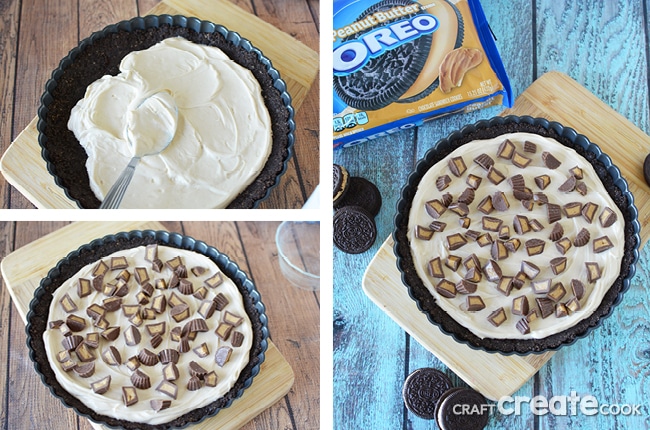
This homemade peanut butter OREO dessert may look small but a little goes a long way. If you cut this into 10-12 triangles, you can easily feed a small crowd. The dessert is nice and rich so you don't need large slices to satisfy your love for chocolate and peanut butter.
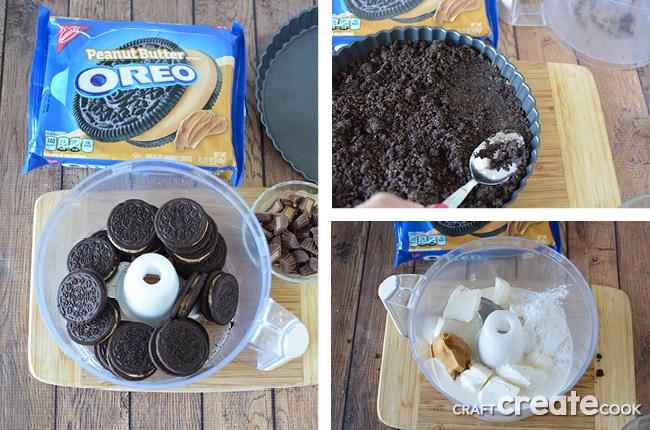
I use this Wilton 9 inch tart pan with a removable bottom for my peanut butter OREO dessert. It's just the right size and makes a very pretty edge for the crust. If you don't have a tart pan, you can use a round cake pan with a removable side. And if you don't have one of those, a square baking pan will work. Cut into 9 squares and remove from the pan with a spatula.
Alternately if you don't have a food processor, you can crush your OREOs in a blender. You can mix your cream cheese filling using a mixer.
Try some of our other no bake recipes:
This peanut butter OREO dessert won't last long and you'll have everyone asking for the recipe.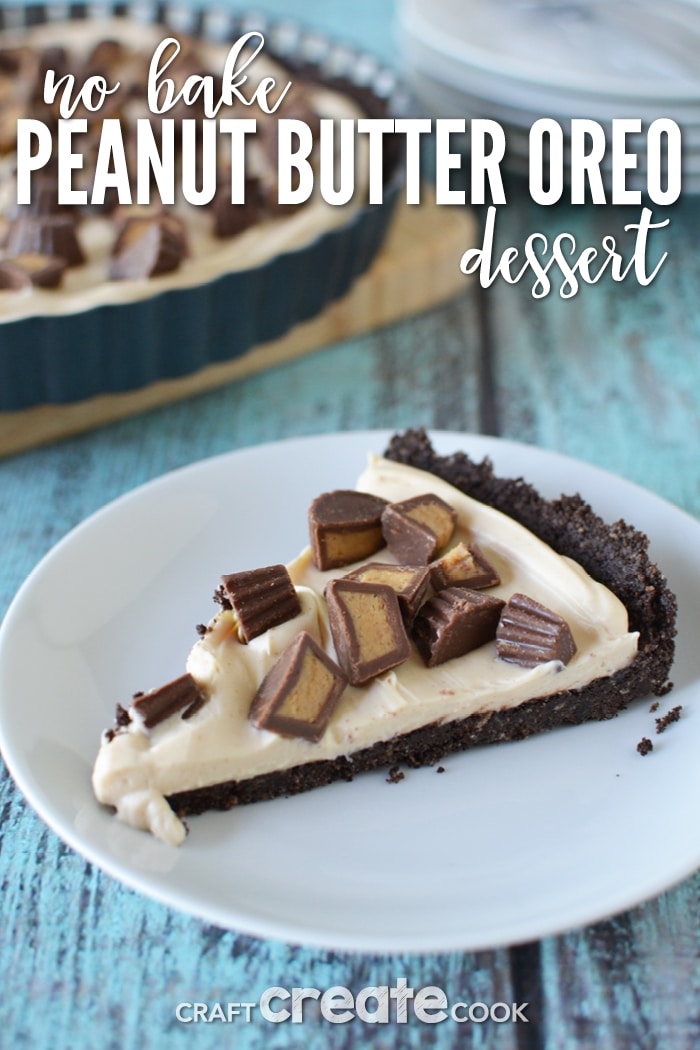
No Bake Peanut Butter OREO Dessert
Ingredients
Instructions


Leave a Reply